‘Quality’ can be perceived in varying degrees and where cars are concerned, it would not be wrong to say that the more expensive the model, the higher the quality will be. The higher cost comes partly from using the finest materials and having the best workmanship and advanced manufacturing processes.
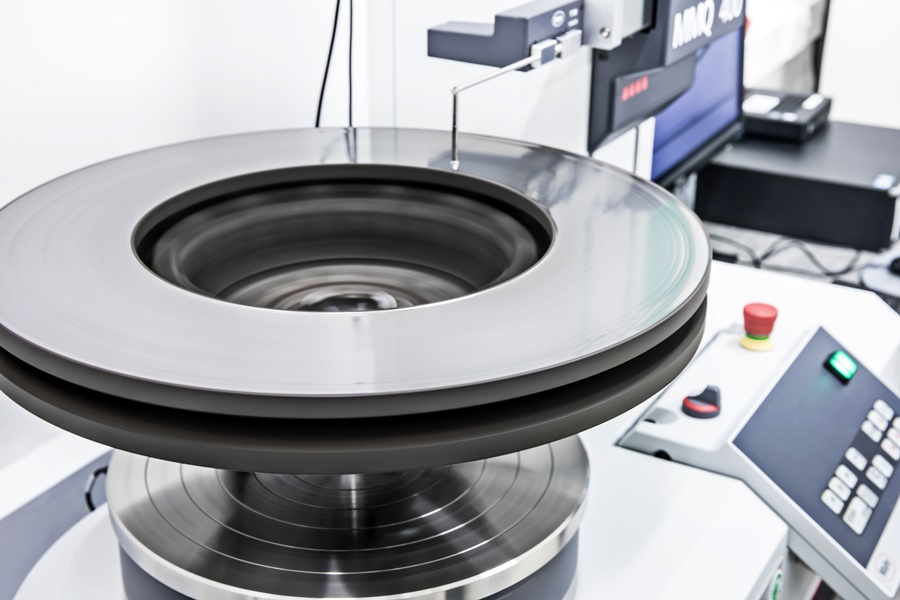
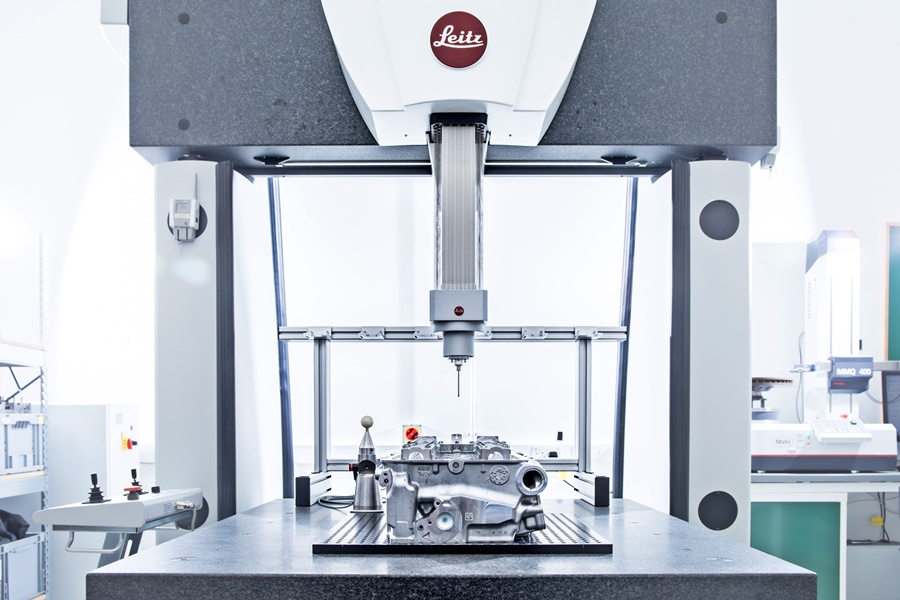
Precision is a key element in quality and at Bentley, maintaining precision is done in a large, airy and air-conditioned workshop packed with the kind of precision instruments you’d expect to find in a space agency facility or university science lab.
It’s here that Head of Metrology Michael Stockdale and his 25 colleagues measure every part of a Bentley to the highest standards of precision. Metrology is the science of measurement, and it’s fundamental to the quality, performance and longevity of every Bentley that each component is made to consistently precise dimensions.
Stockdale and his colleagues can measure every part of each model Bentley makes, from the smallest washer to body panels and interior trim, and ensure that no component strays from the close tolerances prescribed for it. “We have the tools to measure everything from the graining of leather to the surface of a cylinder bore, down to fractions of a micron” explains Stockdale.
Having measured components individually, they are measured again as sub-assemblies and once more as part of the finished vehicle. Thus, the Metrology team plays a vital role in ensuring that near perfection is repeatable.
Precise choreography
Measuring and enforcing the highest standards of dimensional accuracy is especially important for a vehicle, where multiple components become sub-assemblies. To take just one example, the retractable Flying B mascot on the bonnet of the Flying Spur, which smoothly deploys and retracts only because each component in its complex control assembly is made to close and consistent dimensions.
It is illuminated and linked to the keyless entry system as the driver approaches the car, yet it must also retract automatically in the event of an accident. To achieve this precise choreography and to ensure that it sits perfectly centred within its plinth, elements of the Flying B system have tolerances as low as 0.15 mm.
Finer than a single blood cell
Laymen use ‘a hair’s breadth’ as a description of the tiniest imaginable measure, but such a term would be too imprecise for Bentley’s Metrology team. As Stockdale points out, a human hair can be anything from 17 microns to over 150 microns thick. In contrast, there are instruments within Metrology that can measure down to 0.5 microns.
A micron is one millionth of a metre, and a human red blood cell is 5 microns in diameter. Not every component of a Bentley needs to be measured to tolerances of less than a micron, but there are some.
As an example, Stockdale cites the crankshaft of Bentley’s 6-litre W12 engine. Though invisible to the naked eye, each of the 12 machined bearing journal surfaces in which the crankshaft sits features minute grooves that hold a microscopic film of oil.
By using a high accuracy Perthometer (a tool designed to measure surface finishes), the Metrology team can verify that those minute grooves are within their defined tolerances, in turn ensuring that each W12 engine produces both the immense power and lifelong durability its owners would expect.
Scanning every millimetre
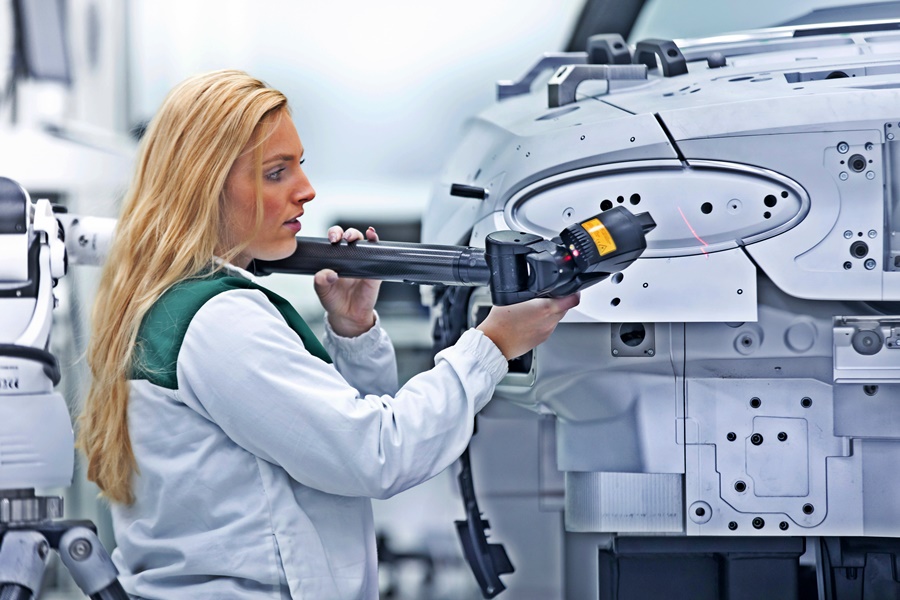
As well as measuring individual surfaces and components to microscopic levels of accuracy, the Metrology team measures entire vehicles. Every millimetre of the car’s body is scanned using high accuracy digital cameras to create a complete and precise map of the car.

“Imagine an issue at the prototype stage where the panel gap between grille and bonnet is a millimetre too large,” explained Stockdale. “Does the fault lie with the grille, or the bonnet? A special reference vehicle provides the answer, because it’s made to the precise dimensions of the CAD data.”
Precise temperature control
Materials expand when warm and shrink when cold, so it’s essential that measurements are taken at a consistent reference temperature. Within the Metrology area, air conditioning keeps the area at a steady 20°C. But for components that demand the highest levels of precision, there’s an inner sanctum called the High Accuracy Measurement area, where a dedicated climate control system ensures that the temperature never deviates by more than half a degree Celsius.
Within this area are three gigantic granite blocks to which components can be clamped for the ultimate in stability, essential for an accurate reading. But first, the components to be measured have to soak in the atmosphere – literally. “A large component like an engine block might have to soak at a consistent temperature for up to a week, so we can be sure that it’s 20°C all the way to the core,” said Stockdale.
Only 12 people will get to own this super exclusive Bentley Bacalar (w/VIDEO)


